

Pterodactyl
Pterodactyl is best deployed on two separate virtual machines:
Panelon the first VMWingson the second VM
Installing Pterodactyl Panel
Section titled “Installing Pterodactyl Panel”Step 1. Prepare the VM
Section titled “Step 1. Prepare the VM”Create a VM with Ubuntu 22.04.
Install curl:
apt update && apt upgrade -yapt install curl -yStep 2. Run the installer
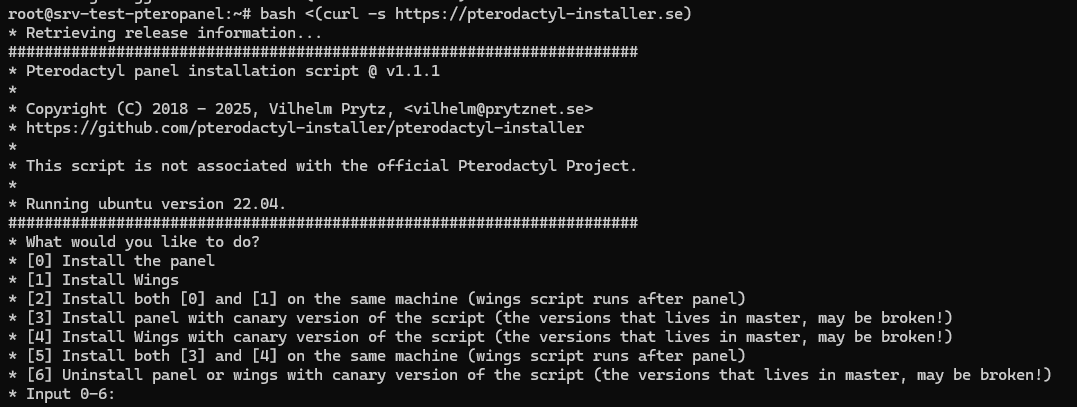
Section titled “Step 2. Run the installer”bash <(curl -s https://pterodactyl-installer.se)In the installer, choose option 0.
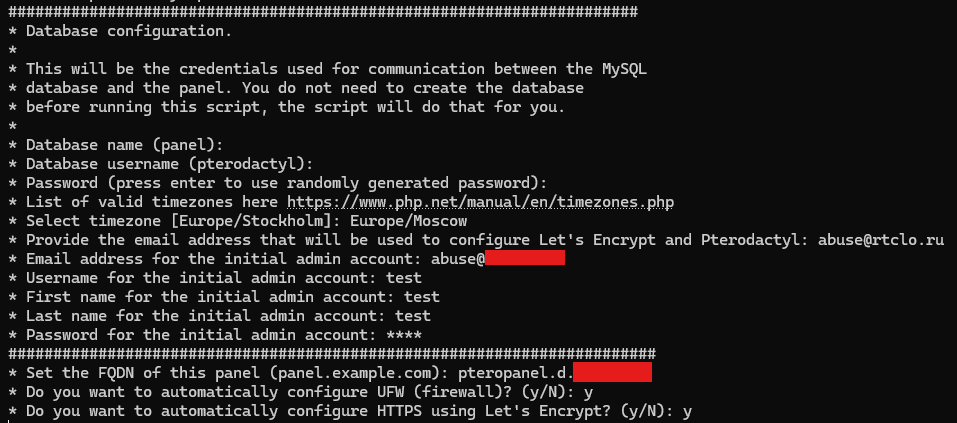
Follow the installer prompts. At this stage, you need to enter the panel domain so the certificate can be issued.
After installation, disable telemetry.

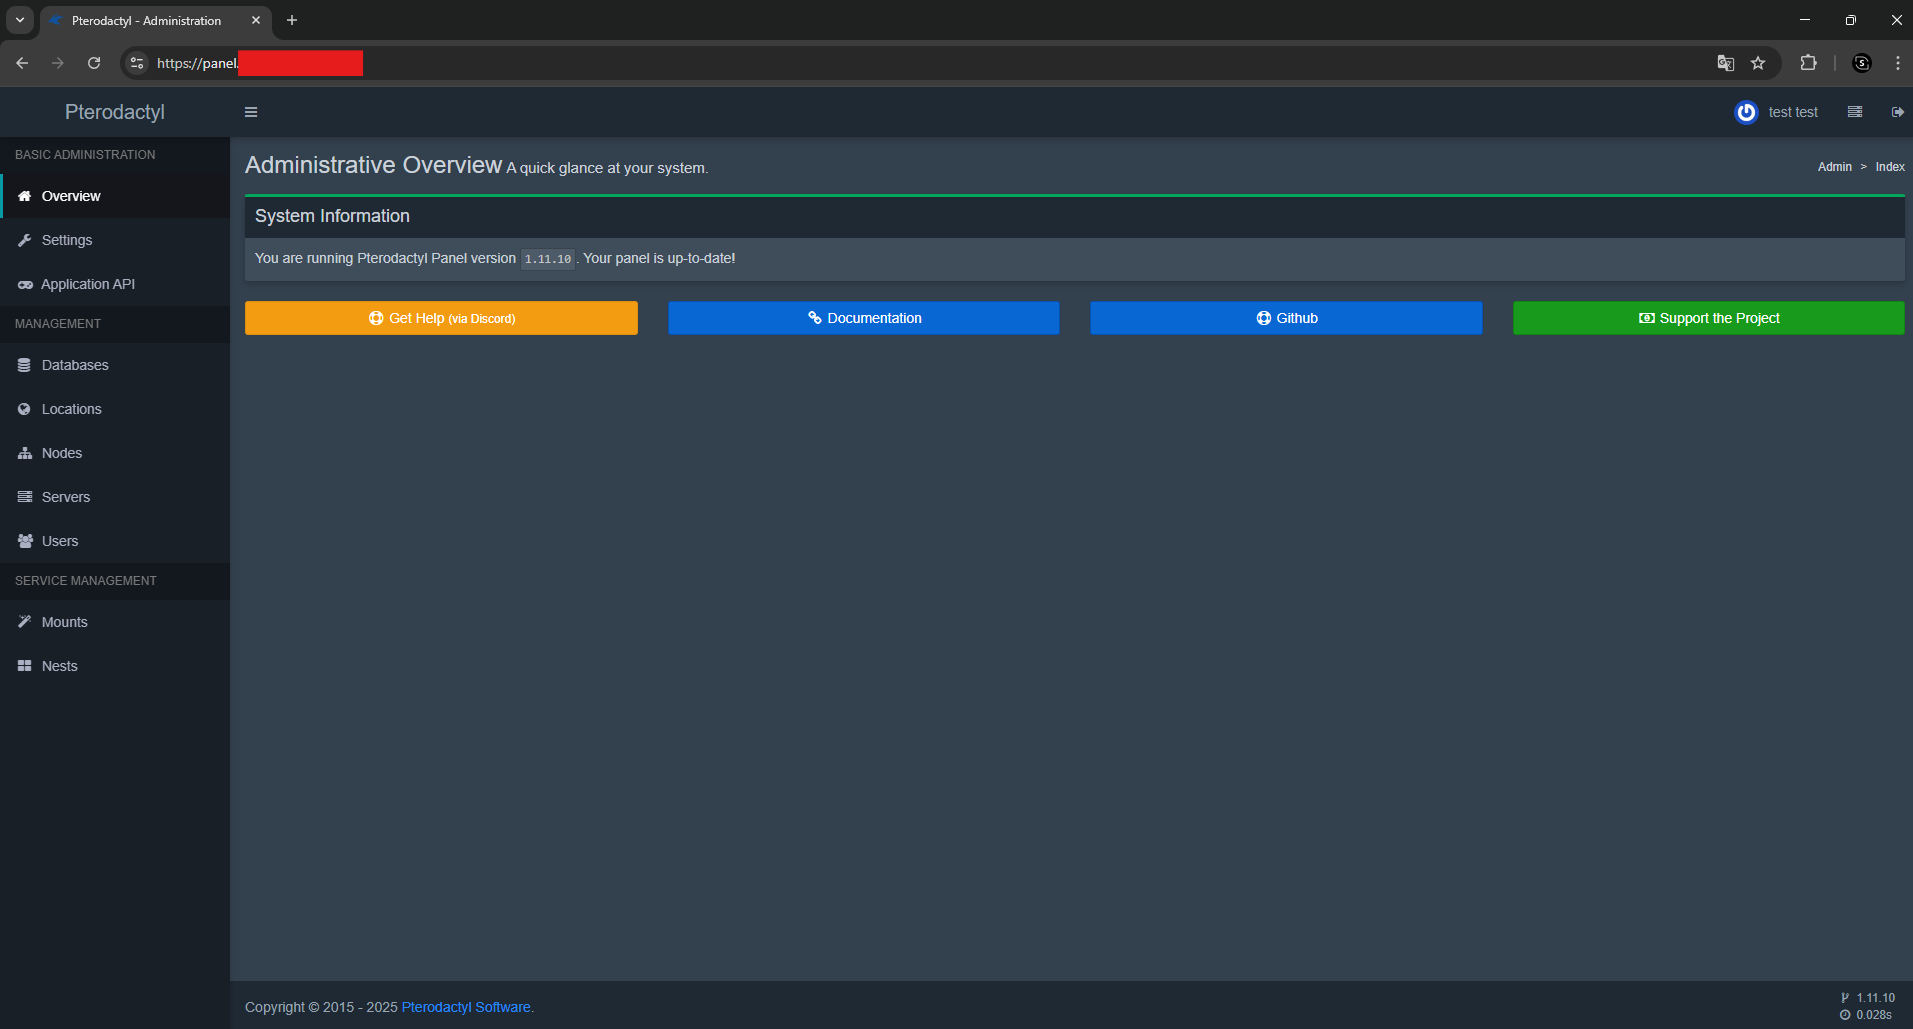
Then open the panel in your browser.
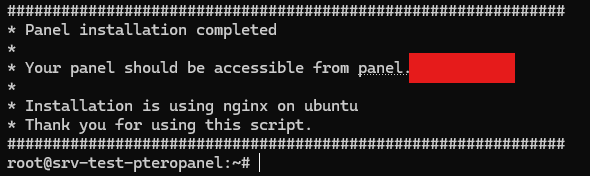
If you see the login form, the installation was successful.
Installing Pterodactyl Wings
Section titled “Installing Pterodactyl Wings”Step 1. Prepare the second VM
Section titled “Step 1. Prepare the second VM”Create a second VM with Ubuntu 22.04.
Update the system:
sudo apt update && sudo apt upgrade -yStep 2. Run the installer
Section titled “Step 2. Run the installer”sudo bash <(curl -s https://pterodactyl-installer.se)In the installer, choose option 1.
Fill in the prompts from the script. Wings uses certbot, so if you already have a reverse proxy, you can skip that step.
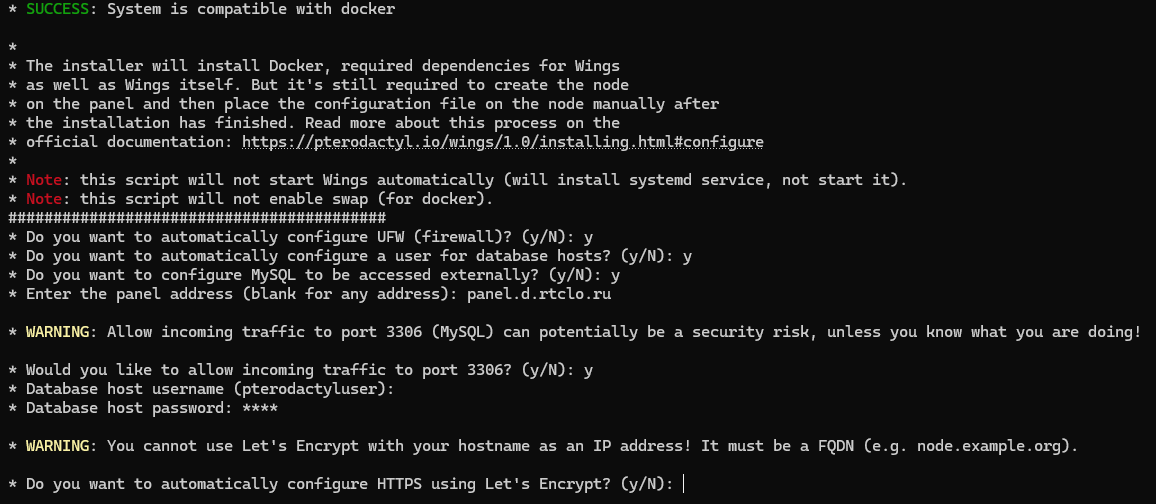
The installation is complete.
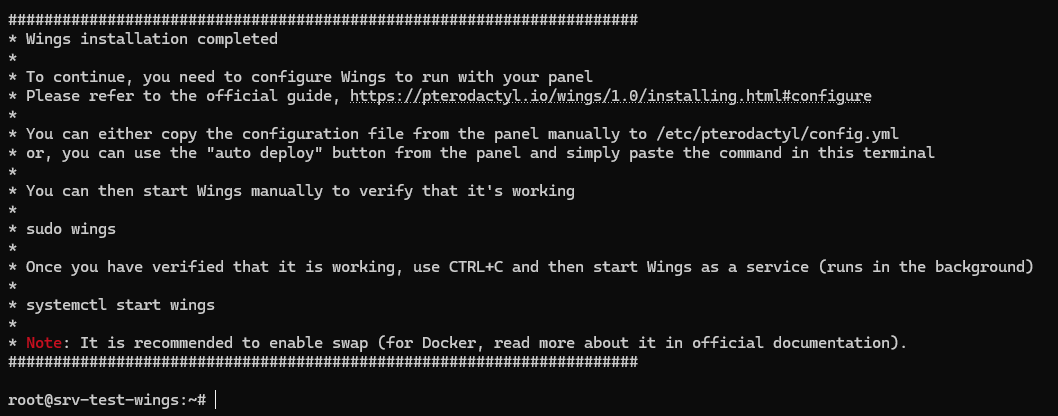
Step 3. Create a Location
Section titled “Step 3. Create a Location”In the panel, go to Locations and create a location.
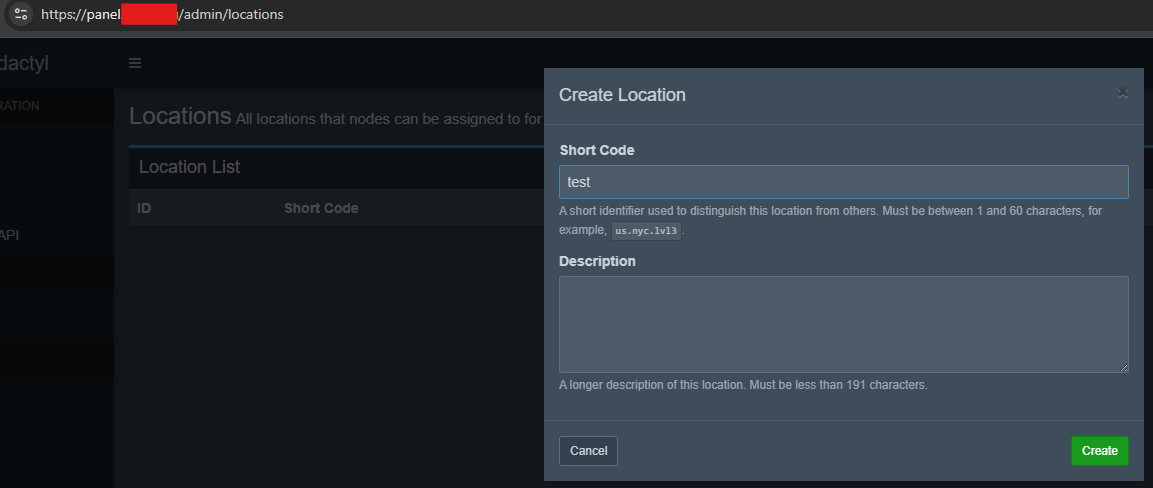
Step 4. Create a Node
Section titled “Step 4. Create a Node”Open the Nodes tab, create a node, and configure it for the Wings instance you just set up.
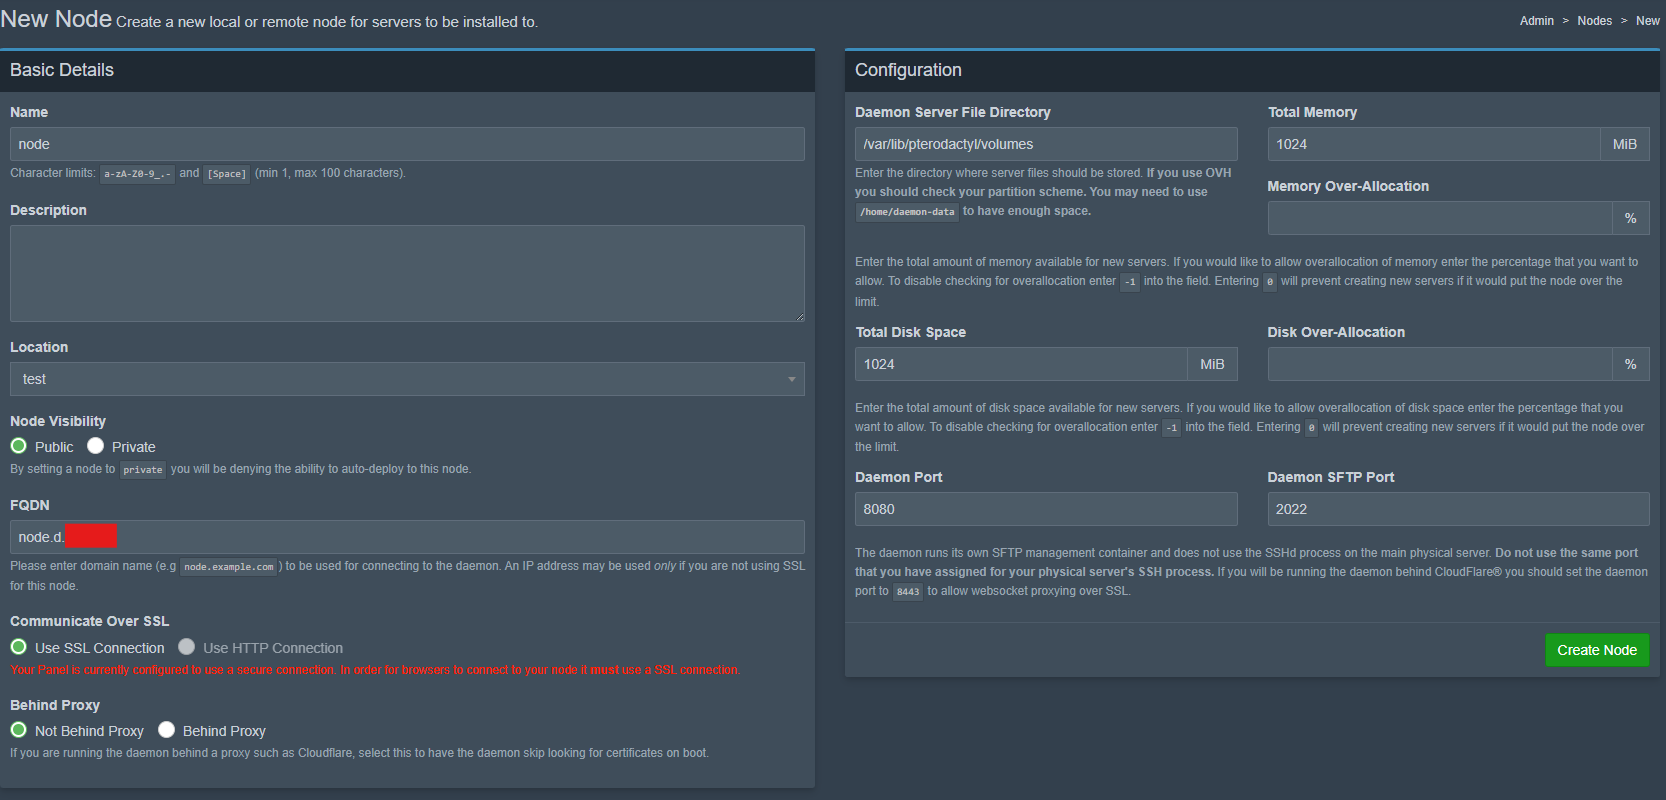
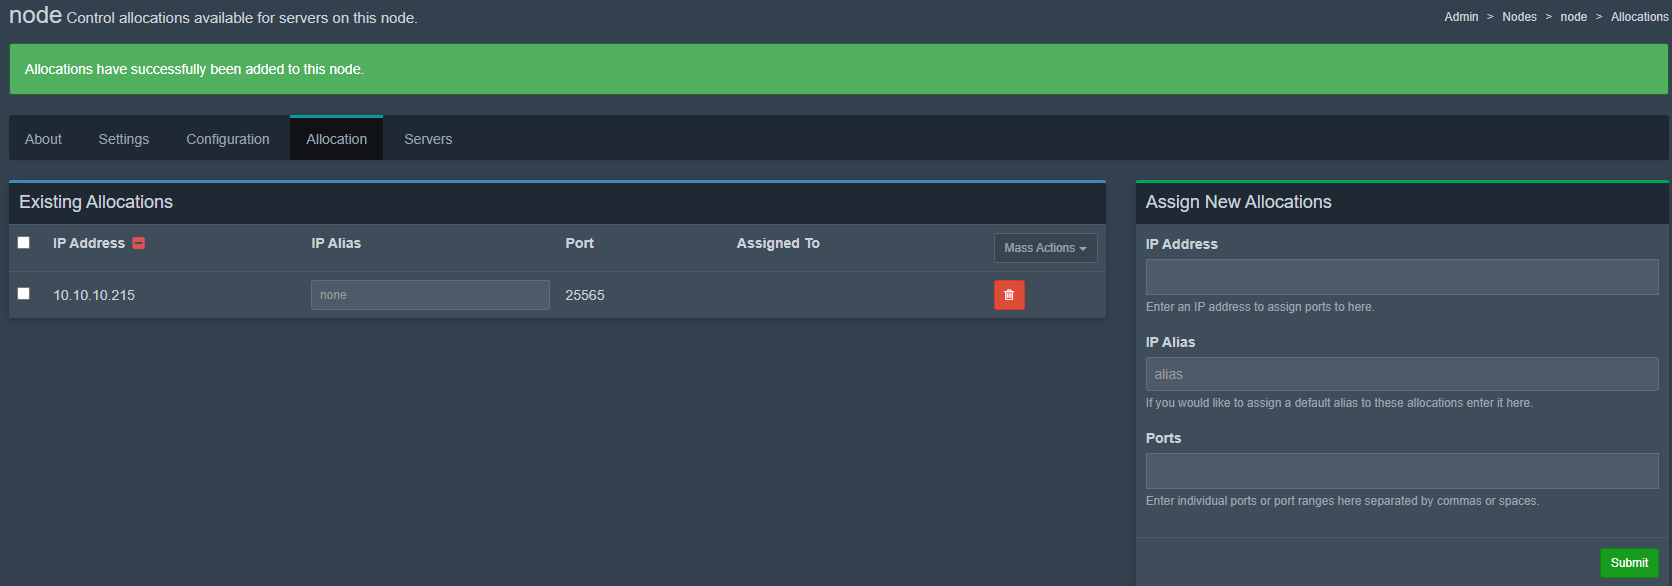
Fill in the node Allocation and specify the ports you want to assign to game servers.
Step 5. Generate the token
Section titled “Step 5. Generate the token”Open the Configuration tab, go to Auto-Deploy, click Generate Token, and copy the generated token.
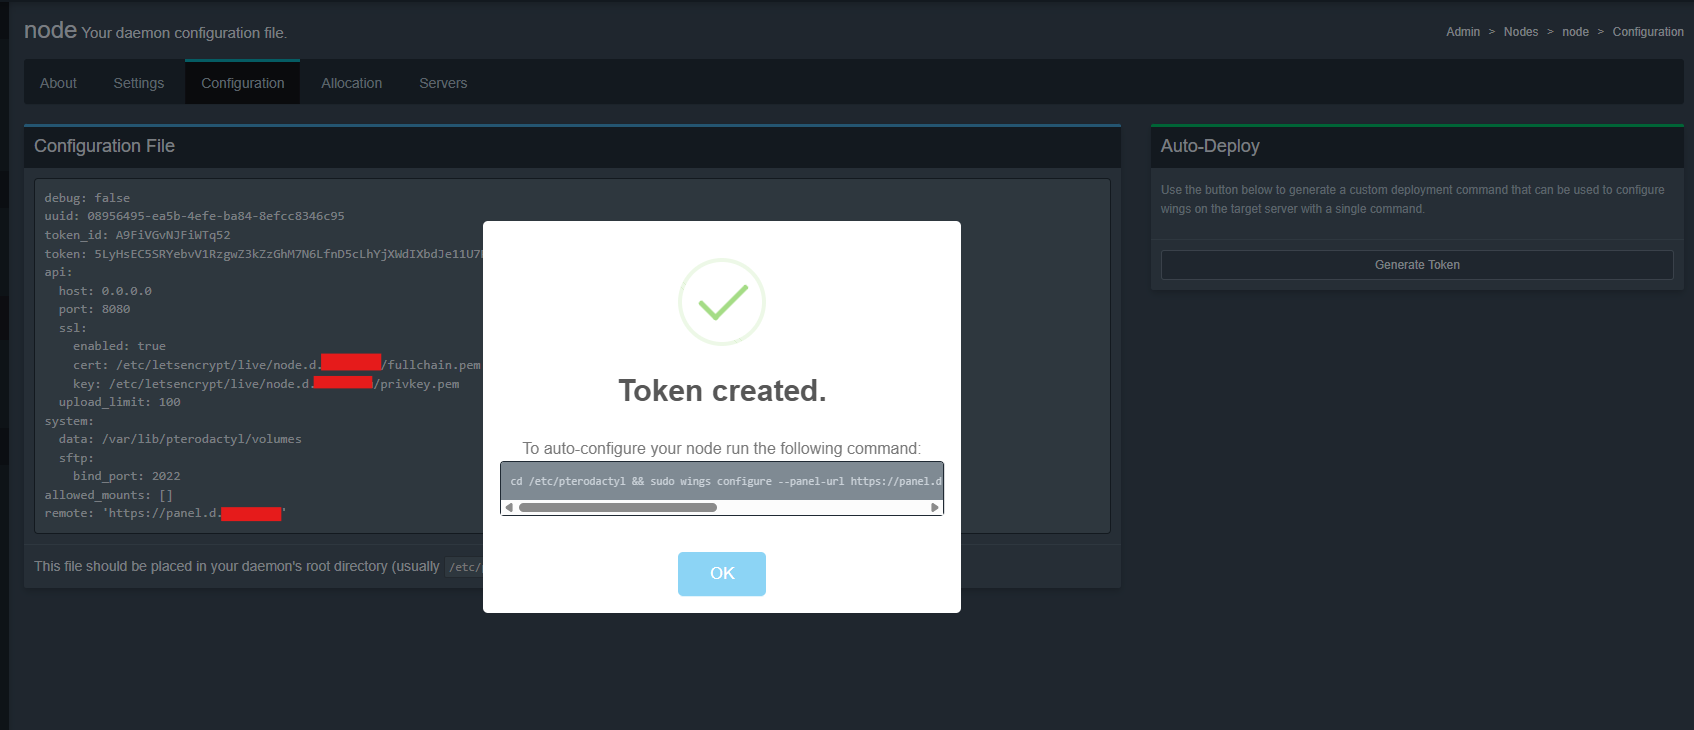
Paste the token into the Wings server terminal and make sure the connection succeeds.

Step 6. Start Wings
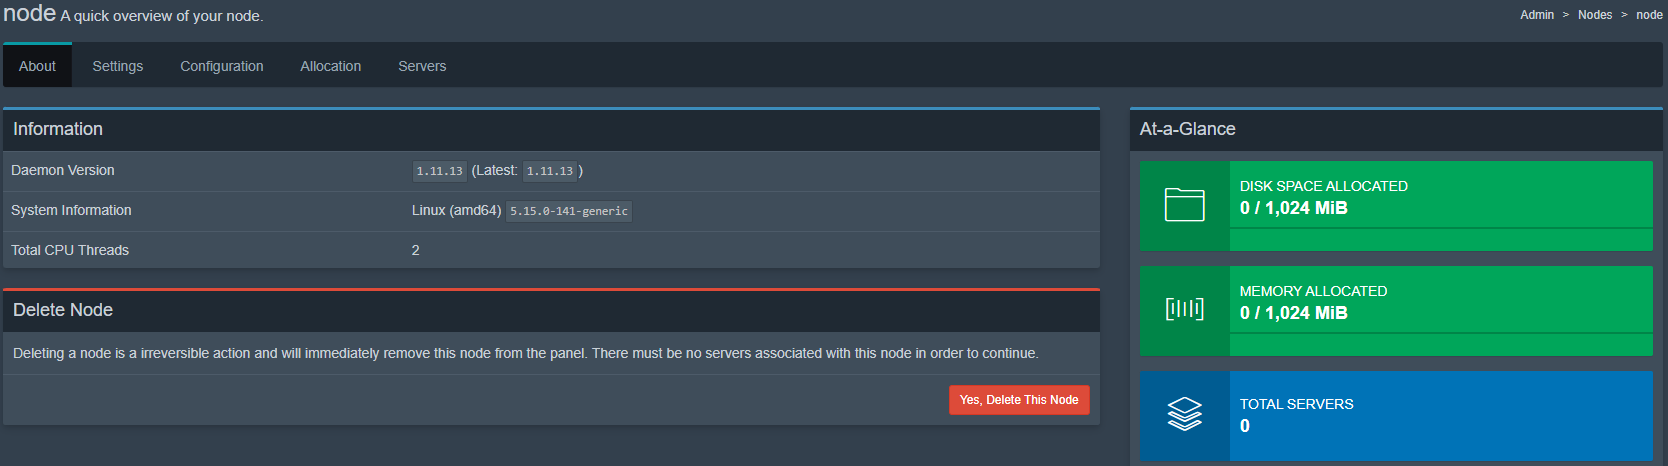
Section titled “Step 6. Start Wings”systemctl start wingsAfter that, go to the Nodes section and make sure the node is active.

You can view node information in the About tab.
The Pterodactyl stack is now fully installed and ready to use.
Installing a game server
Section titled “Installing a game server”Pterodactyl uses Docker to deploy servers. This makes the panel flexible, and you can add custom Nest and Egg templates for games that are not included in the default set.
To find a suitable Egg, you can use this site:
Pterodactyl Community Egg Repository: Browse and request game server configurations for Pterodactyl panel.
In this example, we will deploy a server for the popular game Minecraft.
Step 1. Create a server
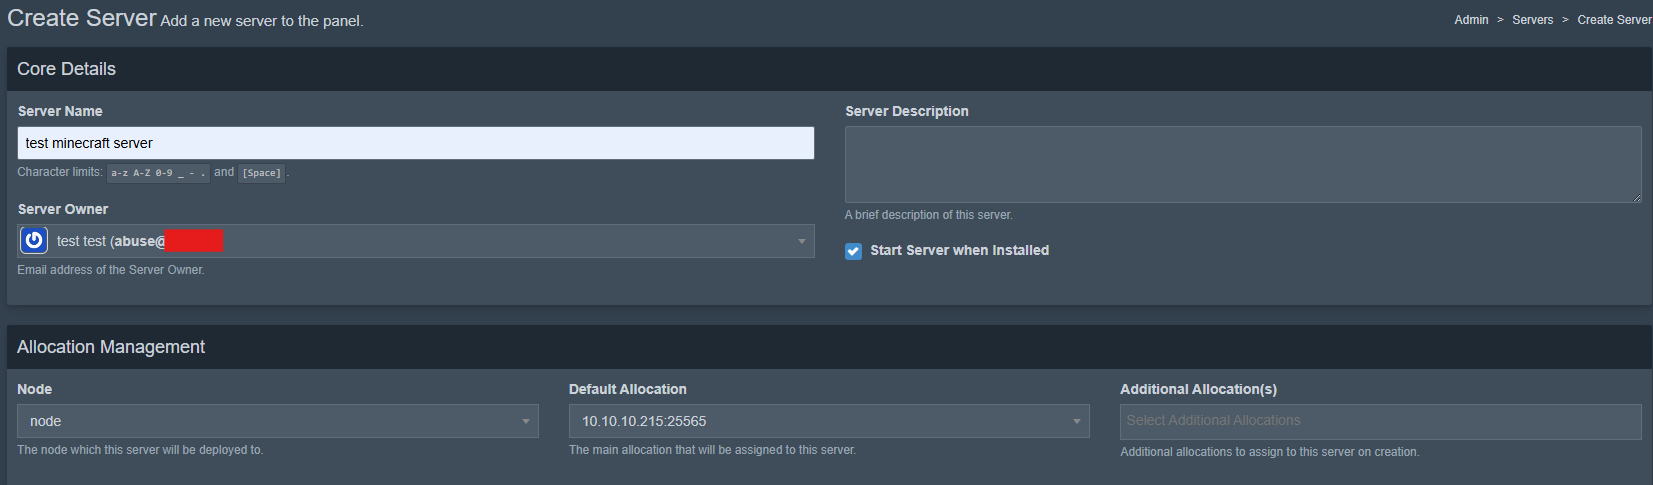
Section titled “Step 1. Create a server”Go to the Servers tab, click Create New, and fill in the details.
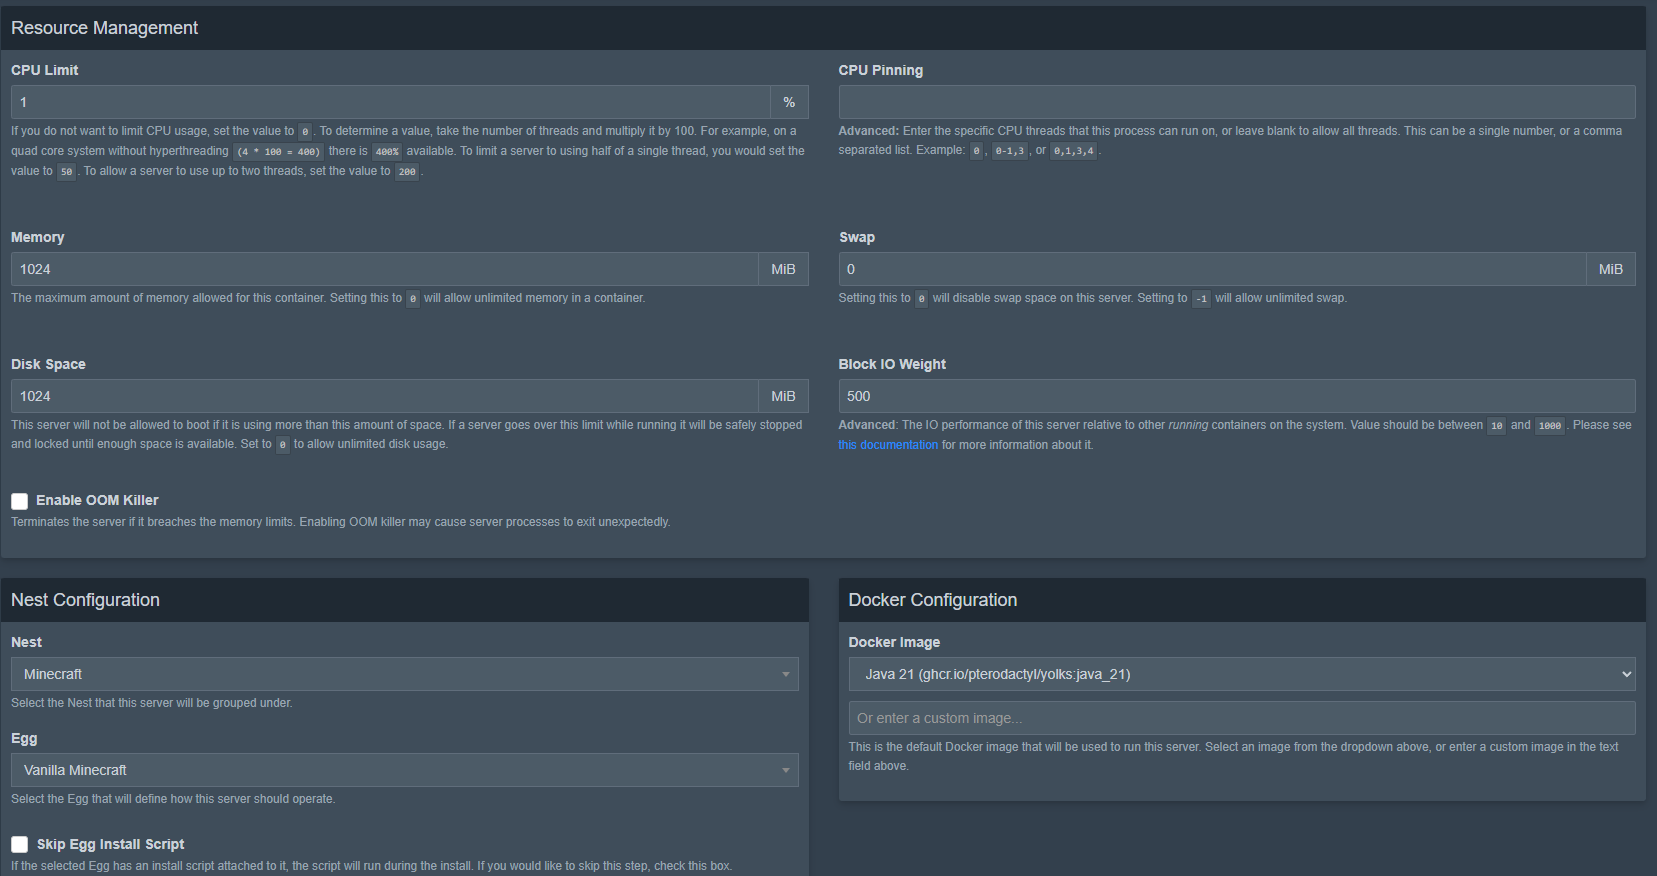
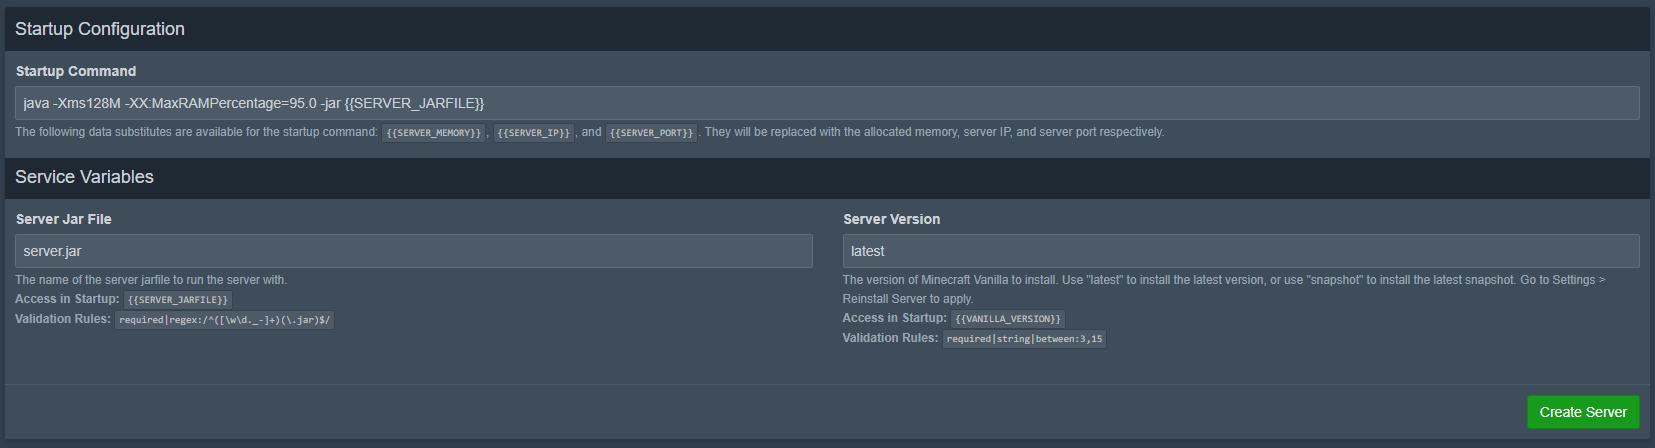
Step 2. Open management
Section titled “Step 2. Open management”Click Create Server, then use the far-right button to open management.
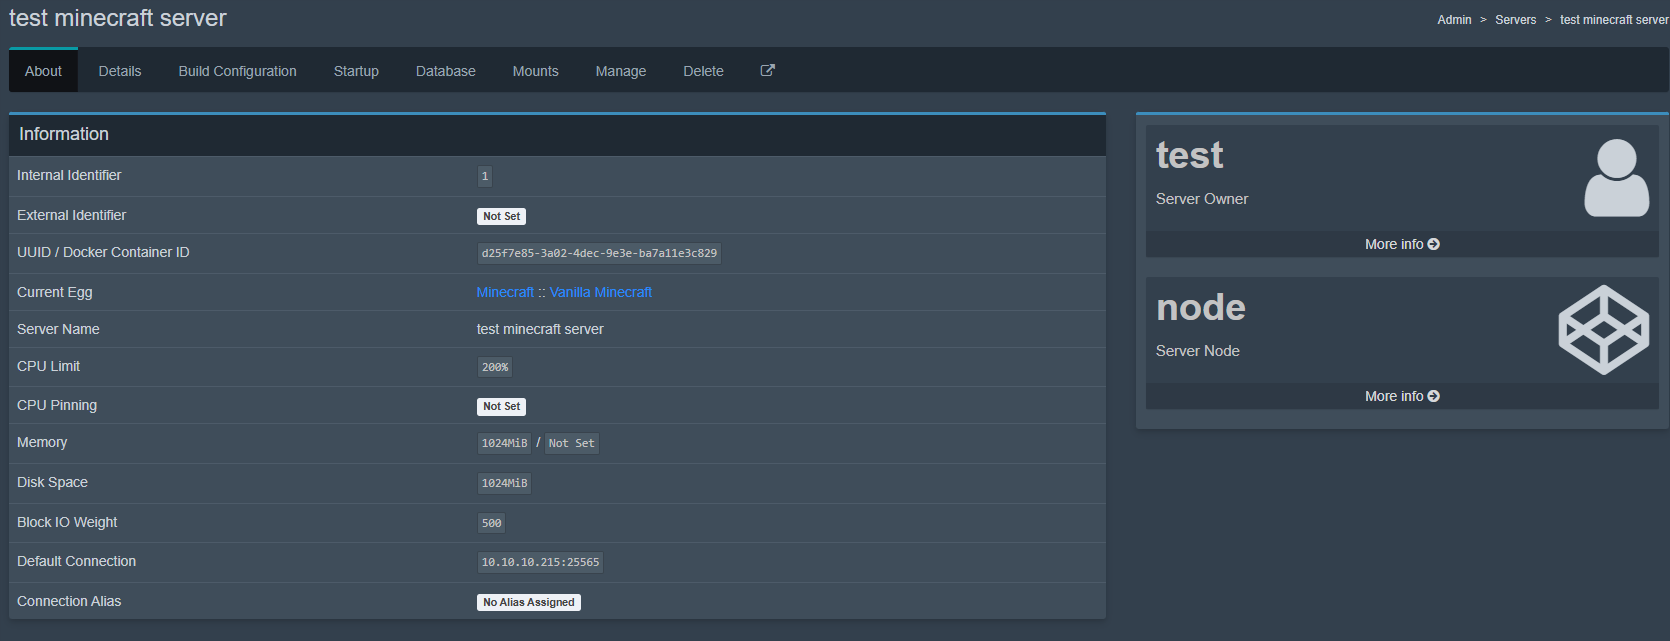
Step 3. Start the server
Section titled “Step 3. Start the server”Open the built-in terminal and click Start.
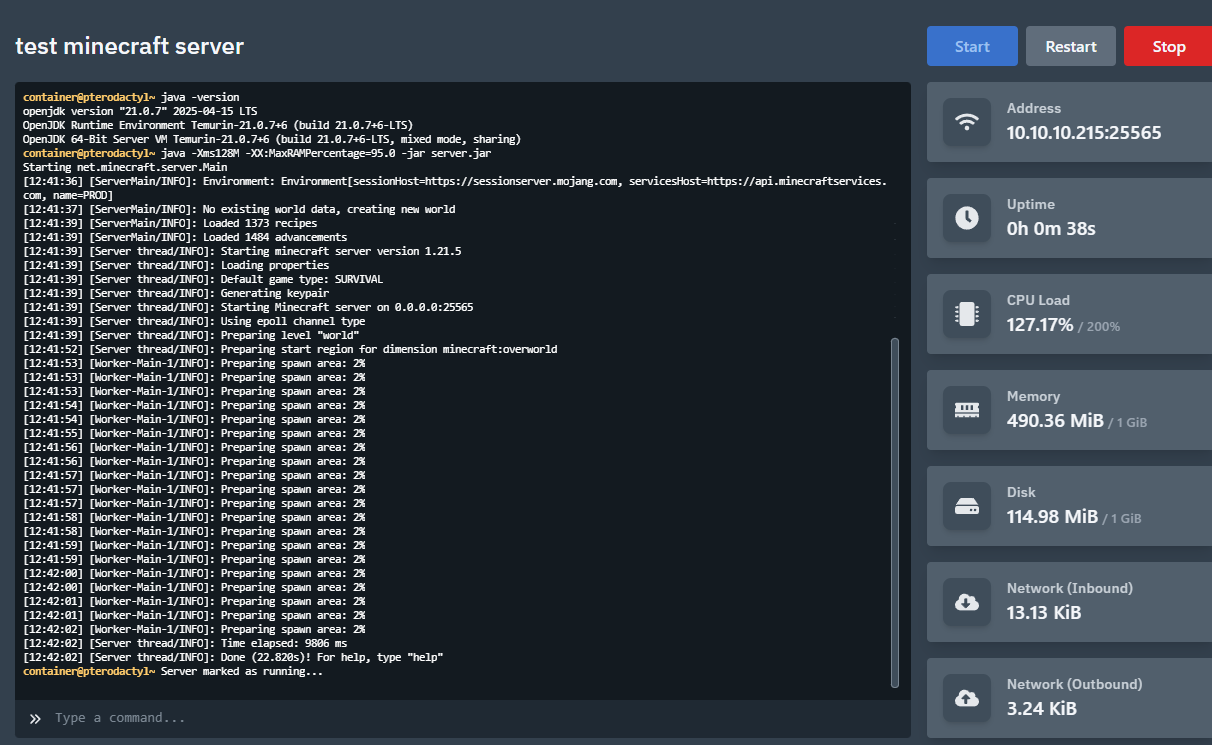
Done. The server is running successfully.